Buying your first arborist climbing kit can feel like a test before the training has even begun. Retailers offer hundreds of ropes, harnesses, connectors, friction hitches and mechanical devices, all described as professional equipment. Some products can be combined safely; others cannot. Some will be used throughout an entry-level course, while others make sense only after you have learned a particular climbing technique. The best tree climbing kit for a beginner is therefore not the biggest bundle or the most advanced device. It is a complete, compatible system that matches the course you are taking.
That distinction matters. A box containing excellent individual products is not necessarily a climbing system. Every life-support component has to connect correctly, remain correctly aligned and perform predictably on the chosen rope. The equipment must also fit the climber, meet the course provider’s evidence requirements and allow the exercises on the syllabus to be completed. Buying items separately without understanding those relationships can leave you with a costly collection that cannot be used when the course starts.
At , we approach first-kit advice from the training side as well as the equipment side. Candidates’ equipment is checked before they climb, so we see the practical difference between a kit that merely looks complete online and one that is ready for instruction. This guide explains what belongs in a basic arborist climbing kit, what may be supplied by your training provider and which purchases can usually wait until your skills develop.
Ask your course provider before buying anything
Start with the joining instructions for your exact course. Ask whether climbing equipment is supplied, whether you may bring your own kit and which technique will be taught. An introductory course may use a moving-rope system with a friction hitch, for example, while a later course may introduce mechanical devices or stationary-rope climbing. A provider may standardise equipment so that every candidate learns the same configuration. In that case, buying a different system beforehand will not give you a head start.
Request a written equipment list and ask how personal equipment must be documented. The provider may need to see a current report of thorough examination, or specified evidence for recently purchased equipment. It may also set requirements for rope length, connector type, harness features or the number of climbing systems used during an exercise. “Suitable arborist kit” is not precise enough when a course involves life-support equipment. Give the provider product names, models, diameters and dates rather than a general description.
This conversation can save a significant amount of money. It separates the items needed on day one from equipment that belongs to a different technique or a later stage of work. It also tells you whether boots, helmet, eye protection and chainsaw protective clothing are required for the course, supplied by the provider or unnecessary until a later unit. Always follow the current joining instructions over any generic tree climbing equipment list, including this one.
The core of a basic arborist climbing kit
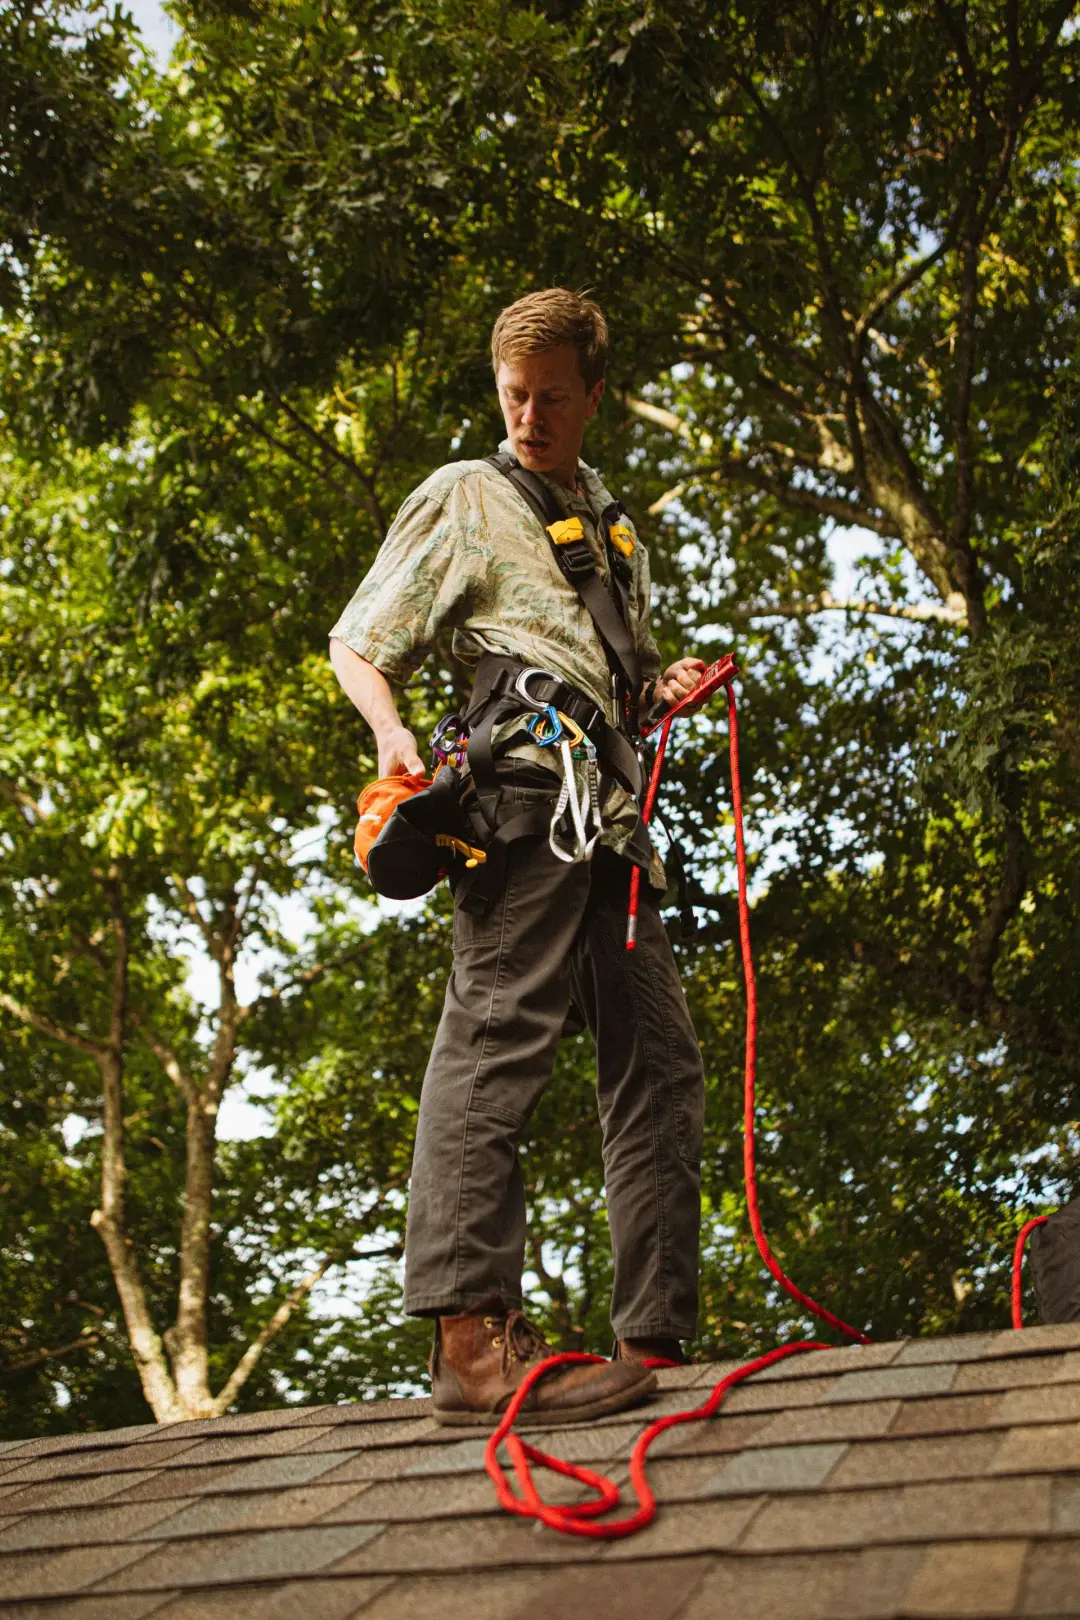
A beginner’s life-support system normally starts with five connected elements: a suitable anchor arrangement, an arborist climbing rope, a means of controlling movement on that rope, locking connectors and an arborist harness. A work-positioning lanyard or strop is also a fundamental part of practical canopy movement. Each element has its own job, but it must be selected as part of the complete load path from the tree to the climber.
The precise contents change according to whether the course teaches a moving-rope system or a stationary-rope system. In a moving-rope system, the line passes over or through an anchor and moves as the climber takes in or pays out rope. The climber may regulate movement with a correctly configured friction hitch and pulley or an approved mechanical device. In a stationary-rope system, the rope is secured at an anchor and the climber travels along it using a device or system specifically intended for that use. Similar-looking components cannot automatically be transferred between the two.
A full arborist climbing kit also needs the less glamorous items that make the system usable: a suitable rope termination, an approved friction or cambium saver where required, throwline and throw weights for installing the line, rope storage and a method of keeping equipment identifiable. Depending on the syllabus, the provider may supply line-installation equipment or have anchors already installed. Confirm this before duplicating shared course equipment.
An arborist harness, not a recreational climbing harness
An arborist harness is designed for prolonged work positioning and movement around a tree. It normally has a central bridge or attachment arrangement that allows the climber to rotate and move laterally, plus designated side points for work positioning. A recreational sit harness may be suitable for the activity for which it was designed, but it is not an interchangeable substitute for a tree-work harness. The standards, attachment layout, comfort under suspension and manufacturer-approved uses are different.
Fit cannot be chosen from waist size alone. A harness should be adjusted and tested while the climber is suspended at low level in a controlled setting. The waist belt must remain secure without restricting breathing; the leg loops should support without creating concentrated pressure; and the bridge position should leave the climbing device manageable. Seasonal clothing can change the fit, so the adjustment range should work with the layers you expect to wear.
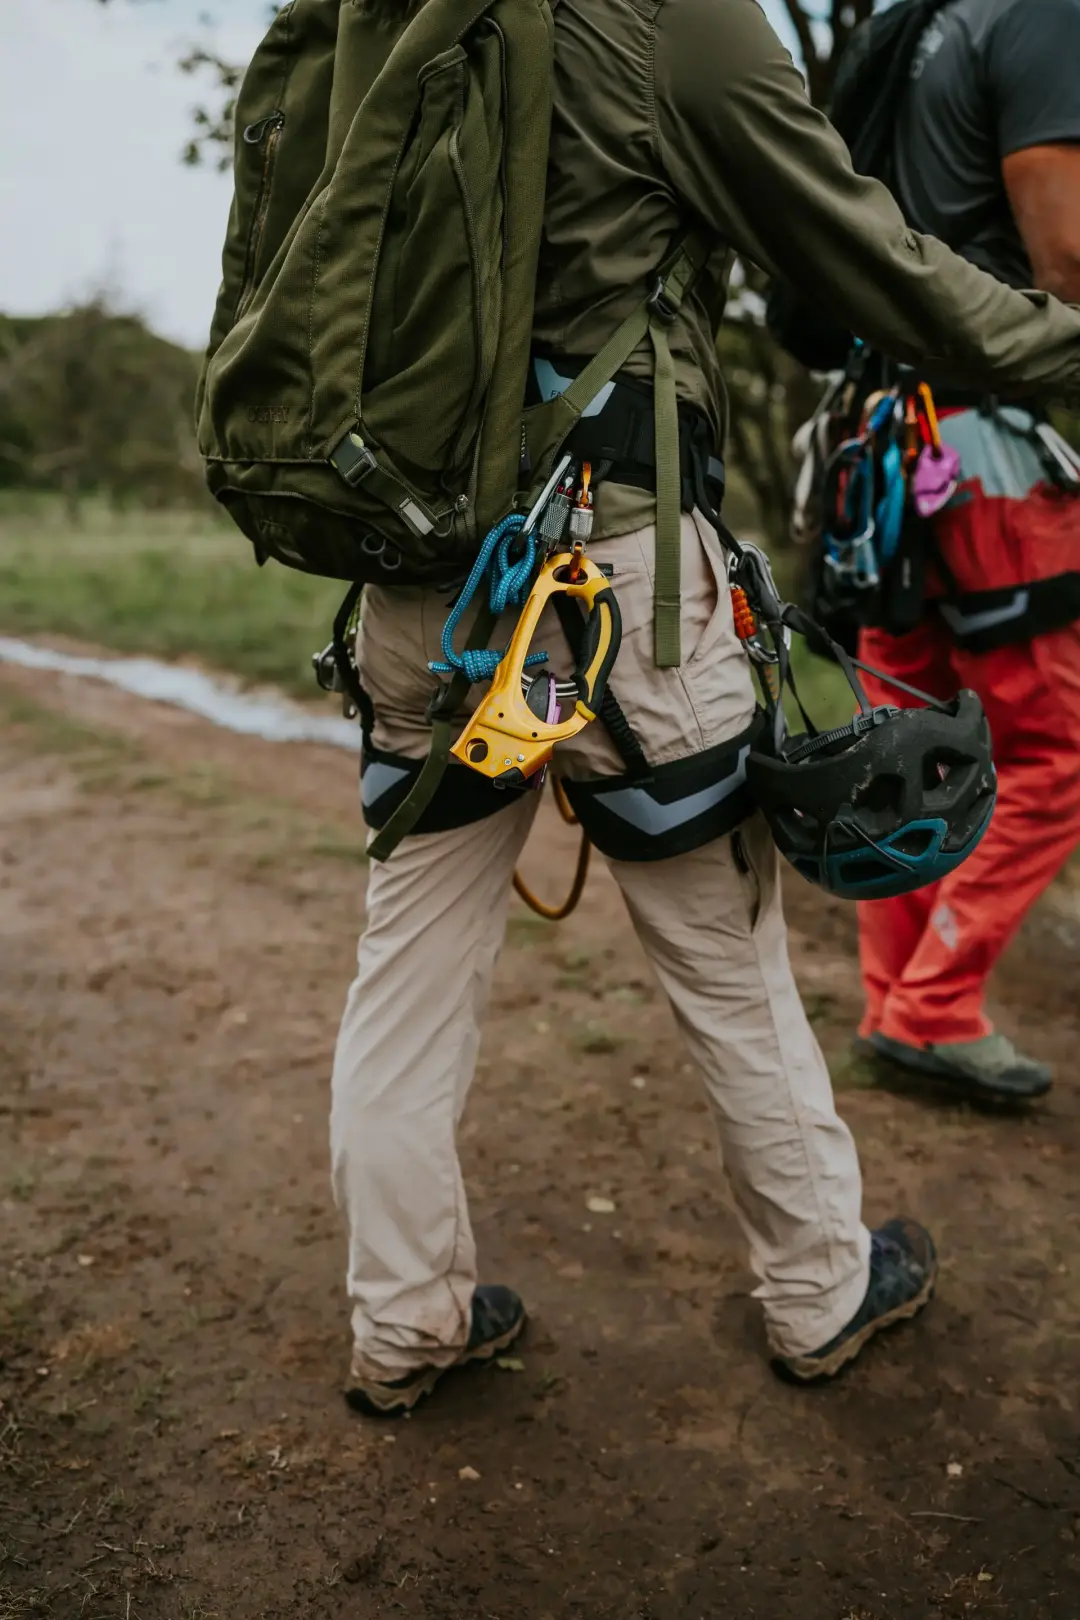
Learn which points are life-support rated. Gear loops and chainsaw attachment points are not climbing attachments simply because a connector fits through them.
Side rings, bridge components and ventral or sternal points may each have restricted uses stated in the instructions. Bridge replacement is another model-specific issue: use only approved components and procedures.
A course trainer can check fit and function, but the climber must learn to recognise and inspect every critical part.
Choosing the right climbing rope
The rope must be intended for arborist life support and compatible with the hitch or mechanical device used on the course. Diameter is the first figure candidates notice, but construction, sheath texture, firmness, elongation, condition and termination also influence performance. A rope that falls within a device’s nominal diameter range can still handle differently from another rope of the same labelled size. Manufacturer instructions for both products must support the combination.
Beginners often find a larger, more tactile rope easier to hold and observe, while thinner lines can feel efficient in advanced systems. That does not make one diameter universally better. A moving-rope hitch, a stationary-rope device and a mechanical friction device can each have different requirements. New rope may also be slicker than rope that has been used, which affects how a hitch or device grips. The complete system should be tested under supervision at a very low height before normal climbing.
Length depends on the trees, anchor height, system and rescue plan. A line long enough to reach an anchor may still be too short for controlled descent or rescue. Moving-rope systems generally need enough rope to travel over the anchor and return to the climber with an adequate tail. Stationary-rope installations use length differently, especially when basal anchors or lowerable systems are involved. Ask the provider for a minimum length instead of estimating from the advertised tree height.
Friction hitch or mechanical climbing device?
A friction-hitch system regulates movement by allowing a correctly tied heat-resistant hitch cord to grip the climbing rope under load and release under controlled manipulation. Its behaviour depends on the hitch pattern, number of wraps, cord diameter, material and climbing rope. These systems are relatively straightforward to inspect and make the mechanics of rope friction visible, which is one reason they are often useful in foundational training. “Prusik” is frequently used as a catch-all term, but the exact hitch and cord specification matter.
Mechanical devices can make tending and movement efficient, but they are not shortcuts around technique. Every device has a stated rope range, connector requirements, permitted orientations and wear criteria. Some can be used in more than one climbing method only when combined with a manufacturer-specified additional component. Being able to install a device on a rope does not prove that the configuration is approved or that the user is competent to descend on it.
Buy the system your course teaches unless the trainer has explicitly approved another. Once the underlying skills are secure, a mechanical system may be a sensible progression for the work you plan to do. This is the principle behind separating an Essential system from Pro Climber and Mechanical options: the tiers should reflect technique, use and experience rather than suggesting that a beginner needs to buy the most complex package available.
Connectors, pulleys and the compatibility problem
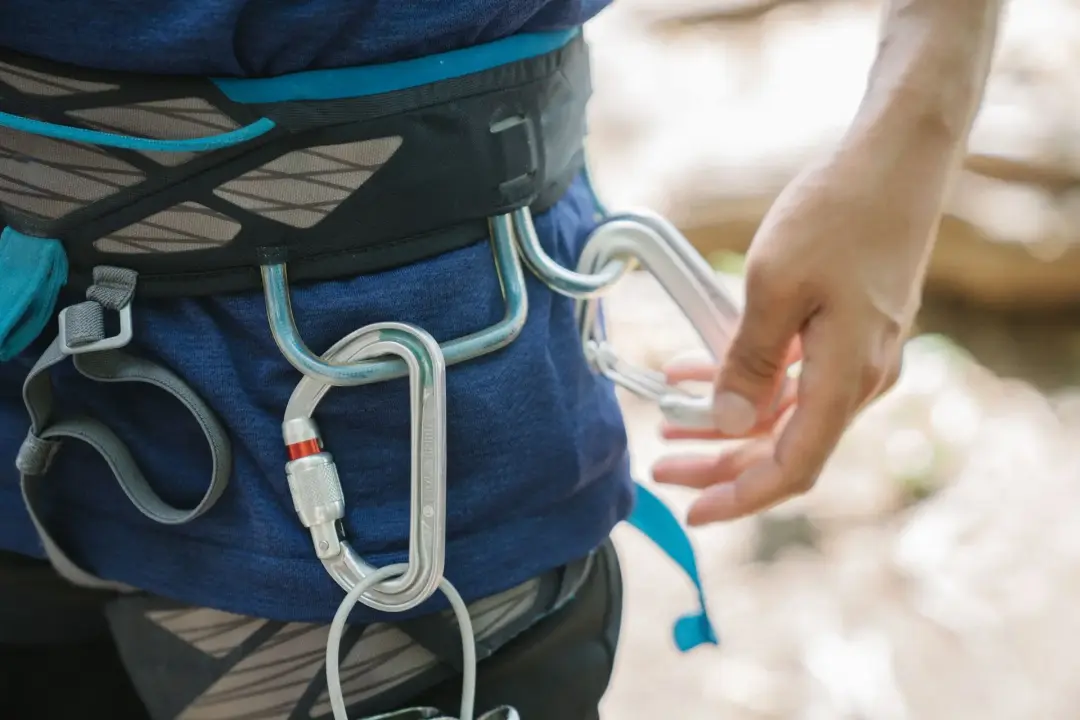
Life-support carabiners must be correctly rated, marked and suited to the way they will be loaded. HSE guidance identifies a three-way-action gate at the main attachment between rope and harness in arboricultural work. Gate security is only part of the decision. The connector’s shape must hold the rope, pulley or device in the intended orientation, the gate must close without obstruction and the frame must not be loaded sideways or across an edge.
Oval, D-shaped and pear-shaped connectors organise components differently. A carabiner that is ideal for one device may rotate or press against the release mechanism of another. Captive bars and anti-rotation features can help where their use is approved, but they can also create unintended loading in the wrong assembly. Follow the device manufacturer’s named connector or compatibility process instead of choosing by breaking strength alone.
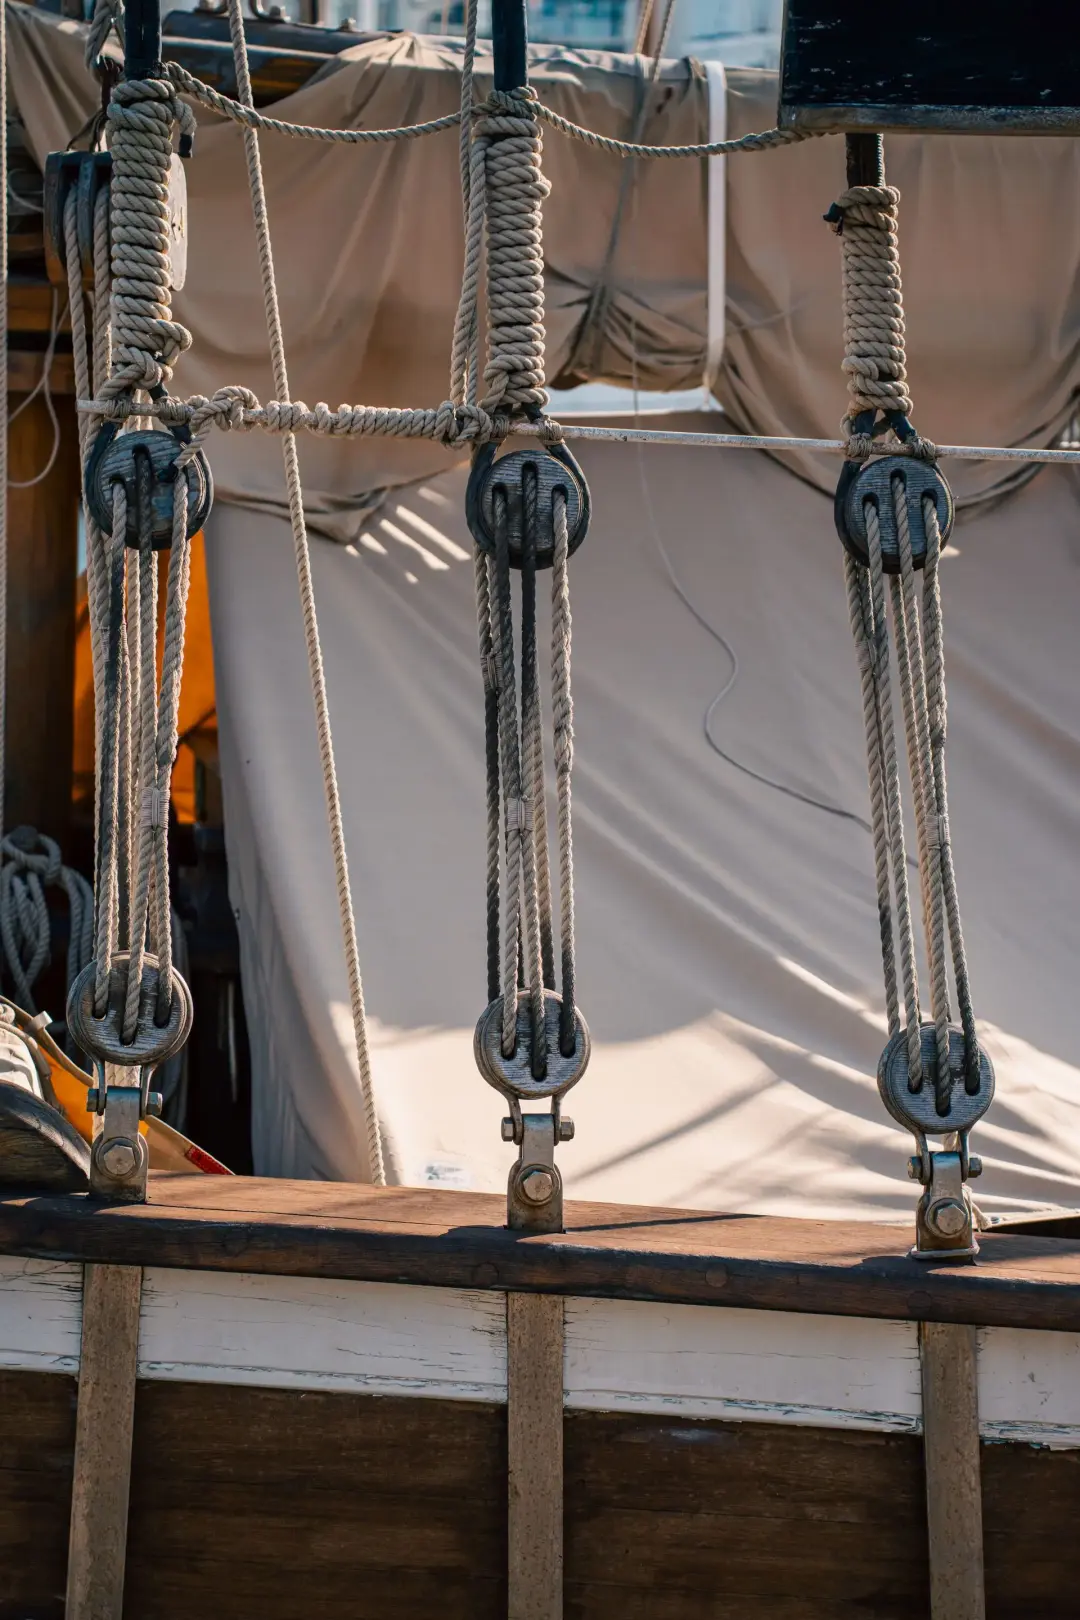
Pulleys are similarly task-specific. A hitch-tending pulley, an anchor pulley and a rigging pulley do not become interchangeable because the rope fits the sheave. Hardware used to lower branches must remain separate from equipment used to support people.
Rigging equipment can be exposed to shock loading, contamination and forces that make it inappropriate for a climbing system. Clear colour coding and separate storage reduce the chance of a dangerous mix-up.
Do you need a lanyard, friction saver and throwline?
An adjustable work-positioning lanyard helps the climber establish a stable working position and create an additional attachment where the technique or task requires it. It must be a complete, compatible system in its own right: suitable rope or webbing, adjuster, connectors and approved harness attachment points. A short lanyard that works in a training tree may be restrictive around larger stems, while a very long one can become difficult to manage. Ask what length and adjuster the course uses.
A friction or cambium saver creates a managed anchor interface for many moving-rope systems. It can reduce rope-on-bark friction, protect the rope and limit damage to the tree. Ring-to-ring, pulley-based and retrievable designs have different installation and retrieval methods. The course provider may supply one or specify a beginner-friendly model. An anchor component is part of the life-support system and must be rated, inspected and used only as instructed.
Throwline, throw bags and a storage cube help install the climbing rope from the ground. They are valuable tools, but buying several weights and launch accessories is rarely the first priority when a provider supplies them for training. Start with the method being taught and add equipment as the trees you work on demand it. Throwline must be kept away from live climbing systems and cutting equipment, and weighted bags should be handled within an exclusion area to protect people below.
PPE and supporting equipment
Climbing-system components are only one part of the equipment needed for tree climbing. The course may require a suitable arborist helmet, eye protection, appropriate footwear and gloves. Hearing protection and chainsaw protective clothing become relevant when the training includes chainsaw operations. The product standards and course requirements differ by task, so do not assume that PPE bought for groundwork automatically covers aerial chainsaw use.
Storage and identification also matter. A rope bag keeps the climbing line away from grit, sharp tools, fuel and oil. Life-support textiles should be stored clean, dry, ventilated and out of direct sunlight. Each item needs enough traceable information to support inspection records: manufacturer, model, serial or batch details, production date and first-use date where applicable. Keep receipts, declarations and instructions instead of discarding the packaging at the first training session.
Every climbing operation also requires a workable rescue plan and a person who is trained, equipped and available to carry it out. Your personal starter kit is not automatically a rescue kit. The team needs enough rope and compatible equipment to reach and lower a casualty, and the rescuer must understand the system in use. HSE states that a second person capable of aerial rescue must be available during tree-climbing operations.
What can wait until after your first course?
Many efficiency accessories can wait. Foot and knee ascenders, chest tending systems, multiple pulleys, swivels, advanced redirects and specialist stationary-rope devices are useful only when they solve a problem the climber understands. Buying them early can complicate the system, consume budget and encourage unsupervised experimentation. A course gives you the language and practical experience needed to judge whether an accessory improves your work.
Extra rope lengths, specialised lanyards and a larger hardware collection can also be added when your work becomes clearer. Someone maintaining small garden trees has different needs from a climber making long ascents into mature woodland trees. Likewise, a candidate may eventually prefer a lighter harness or different bridge arrangement, but it is difficult to make that choice before spending time suspended in a correctly adjusted training harness.
Spend first on the complete safety-critical chain, correct fit, training and documentation. A modest but properly matched system has more value than an advanced kit with a missing rescue component or incompatible connector.
If the budget is limited, ask the provider which shared items can be borrowed during the course and which personal items are worth owning from day one.
Choosing between Essential, Pro Climber and Mechanical systems
An Essential system should cover the complete core required for the technique taught, without filling the kit bag with accessories that a first-time candidate cannot yet use. It is a strong starting point when the priority is learning fundamental rope control, work positioning, equipment checks and safe movement. “Essential” should mean complete and correctly matched, not cut-down life-support provision.
A Pro Climber system is more appropriate when the user has training and a clear reason for additional efficiency, comfort or versatility. The difference may include a more refined harness, alternative friction management or accessories that support regular work. It is not automatically the right first purchase simply because the buyer intends to become a professional. The course syllabus and current competence still determine whether those additions can be used.
A Mechanical system suits a climber who will be trained and practised on the exact device and rope combination. Mechanical does not mean maintenance-free or universally compatible. The user must understand installation, function tests, descent control, wear limits and the approved configurations for moving- or stationary-rope use. If your first course does not teach that device, begin with the taught system and plan the mechanical transition with an instructor.
The best beginner kit is the one your training supports
There is no single arborist starter kit that suits every body, course and climbing method. The correct answer comes from matching equipment to the instruction, checking every interface and separating genuine day-one requirements from later refinements. That process protects both the candidate and the budget.
can match an Essential, Pro Climber or Mechanical system to the course and explain what you need now, what the trainer will check and what can wait. Bring the course details, proposed technique, harness size and any equipment you already own. Kit advice is most useful before individual purchases make the system difficult to change.
Starting your first arborist course? Contact for a professionally matched climbing system built around your training, experience and budget.